Life might seem a bit empty right now, with limitations on our work, school and social activities. But an old Hawaiian proverb says, “When your hands are turned to the soil, you will be full.” So let us keep gardening, the healthy activity that can be done alone or with a loved one. May it fill our spirits as well as our bodies.
Growing edibles begins in earnest now as our soils warm up and the days become longer. Here are some ideas to get started.
Is your soil warm enough to plant?
- Calculate the soil temperature. Find out the soil warmth by watching the daily highs/lows. Add the daily high and nightly low together, then divide by two. That’s the approximate temperature of open soil. (e.g.: 50+40=90/2=45) It’s more accurate if you do it over the course of a week and then average those, because the soil temp doesn’t move with just one warm day. A soil thermometer will tell you right away if the soil is warm enough to sprout seeds. Most seeds require soil warmed to a depth of 3” to germinate.
- Temps needed to germinate. Our coolest vegetables (lettuce, peas, chard, parsley, mustard greens, beets, carrots) will sprout in soil as cool as 40 degrees F. Other crops (corn, tomatoes) need at least 50 degrees F, while others (beans, peppers, melons, squashes) need 60 degrees F minimum. Of course, all will sprout faster in soil a little warmer than the minimum.
- Warm up your soil. You can cover the garden bed for a few days with plastic sheeting to warm it up—but remove the plastic when you begin to plant. That will increase the soil temperature a few degrees above an open garden bed.
“When your hands are turned to the soil, you will be full.”
Start earlier with season extension
- Raised beds. Are you growing vegetables in a raised bed? If so, the soil may already be getting warmer and drying out, the two key indicators that it will be ready for seeds.
- Cover the bed. If you have “season extension” covers for your bed, like a cloche or a cold frame, they will really help you get the soil ready. You can plant under season extension two to three weeks earlier than in an open garden bed. But remember to open the device regularly to water the bed so the seeds are kept moist (but not too wet) while sprouting, and so that it doesn’t get too hot under the device on sunny days to wilt the tiny plants.
Is your soil dry enough to plant?
- Soil readiness test. Here’s an easy test to find out if your soil is ready: Dig up a scoop of soil and pack together a softball-size clump of it in your hands. Hold it in one hand and throw it up in the air about two feet, letting it fall back into your open hand. If it lands with a “splotch!” and water sprays everywhere, it’s still too wet for planting. If it breaks apart easily and crumbles in your hand, it’s dry enough.
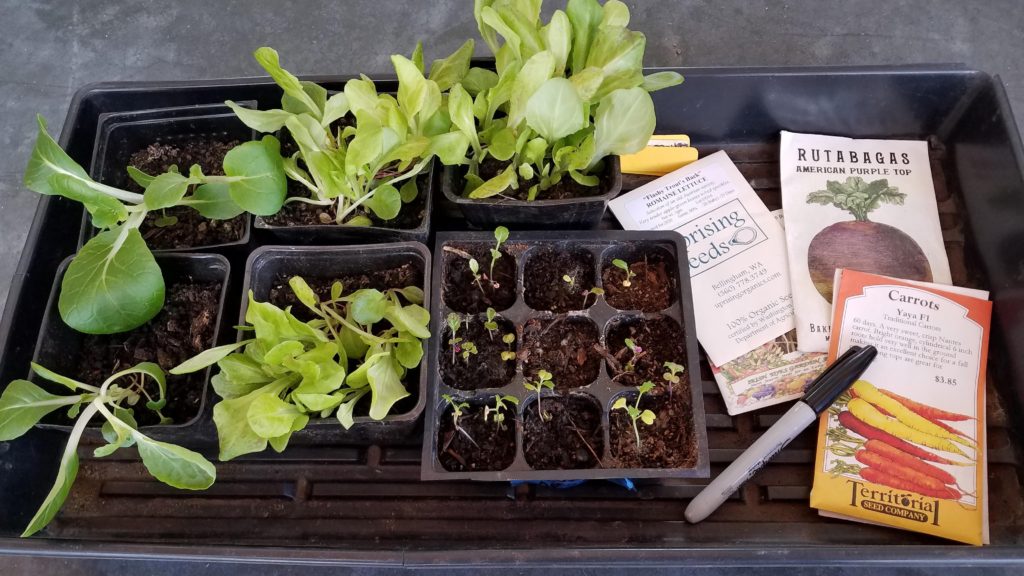
If your outdoor garden is not yet ready, you can still start indoors. See our post on Starting Seeds Indoors that includes a list of bioregional seed companies.